Quick Fix: Repairing A Stretched Out Neckline
I’ve recently discovered that I really love winter. I love the overcast skies, the feeling of cold air on my face, being able to sit by warm fires and cozy up in sweaters and long skirts, even just the look of tall evergreens with low hanging clouds mingling in their branches. There’s just something about it. Being born in late winter is a possible explanation.
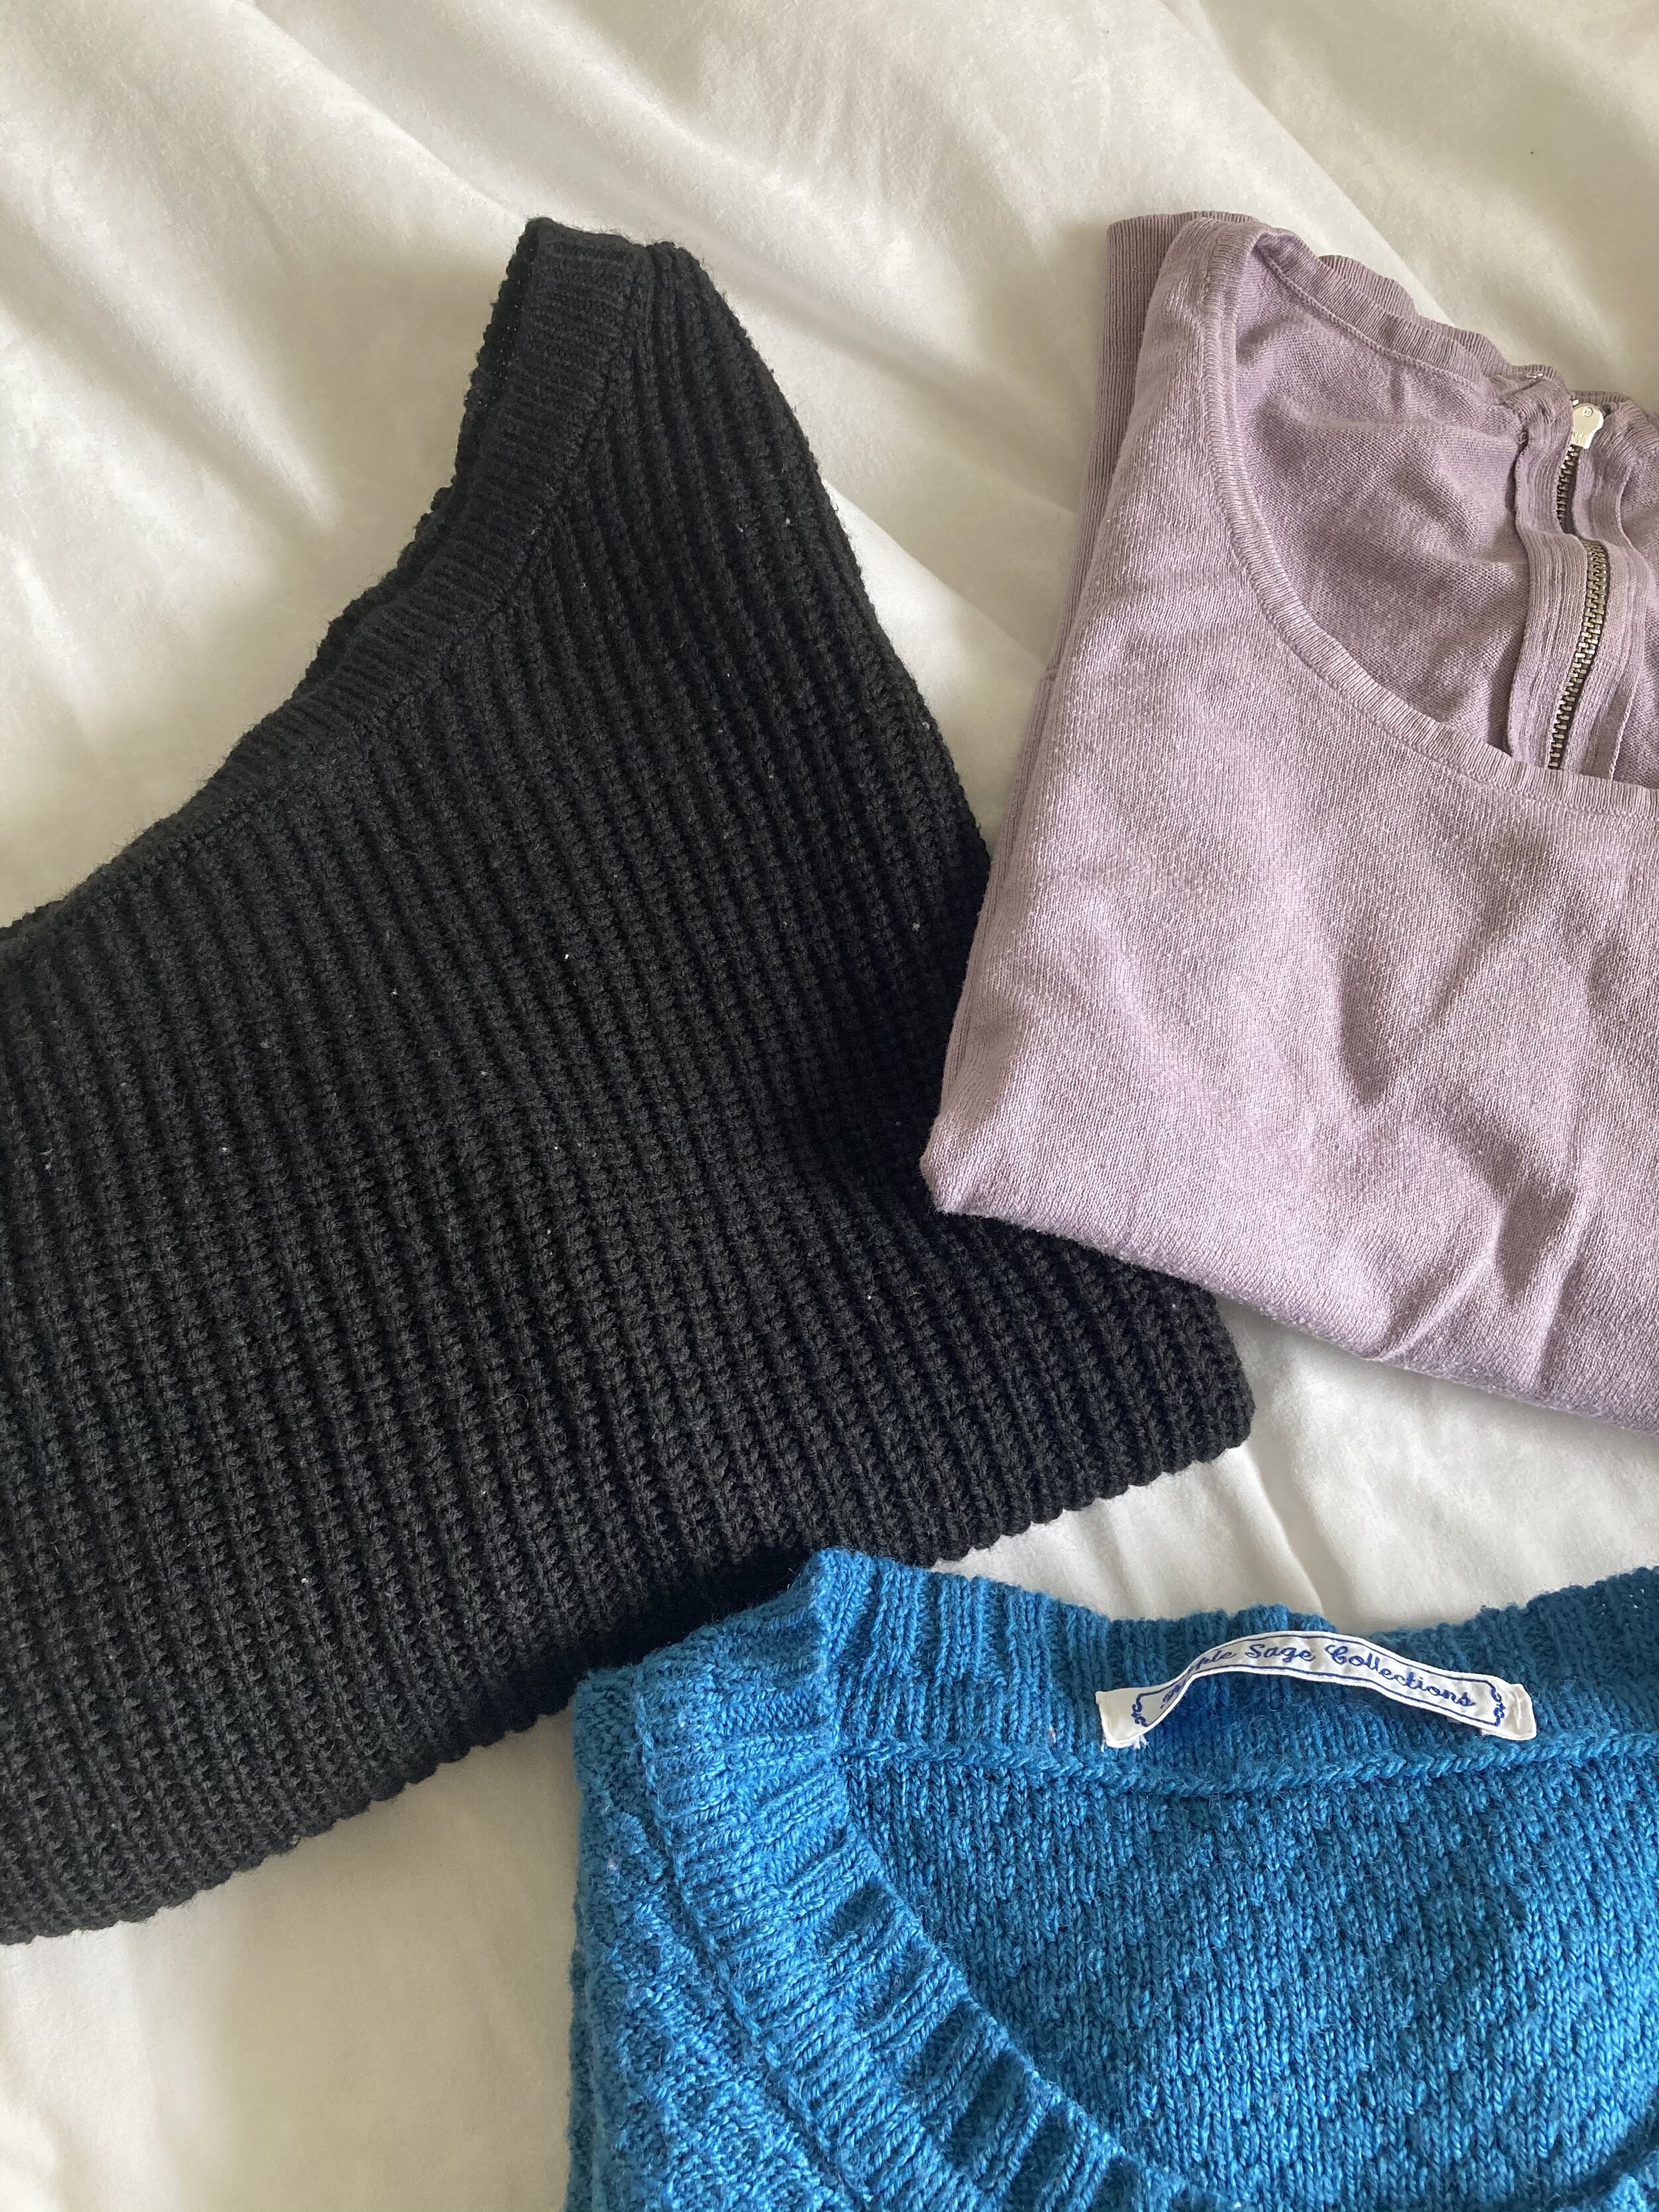
During this winter recess from school, I’ve been enjoying the season and taking some time to tackle my repair pile, specifically my sweaters. A snagged thread here, loose hook and eye there, just those little things I put off last year until all of a sudden the cold weather was back again. At the top of said pile was my favorite asymmetrical one-arm sweater which had gotten so badly stretched out in the wash that it no longer stayed on my shoulder. Using some elastic thread, I was able to restore it and figured I’d share the process in case any of you had some stretched out sweaters in need of sewing help.
Tools:
Sweater
Elastic thread
Needle
Scissors
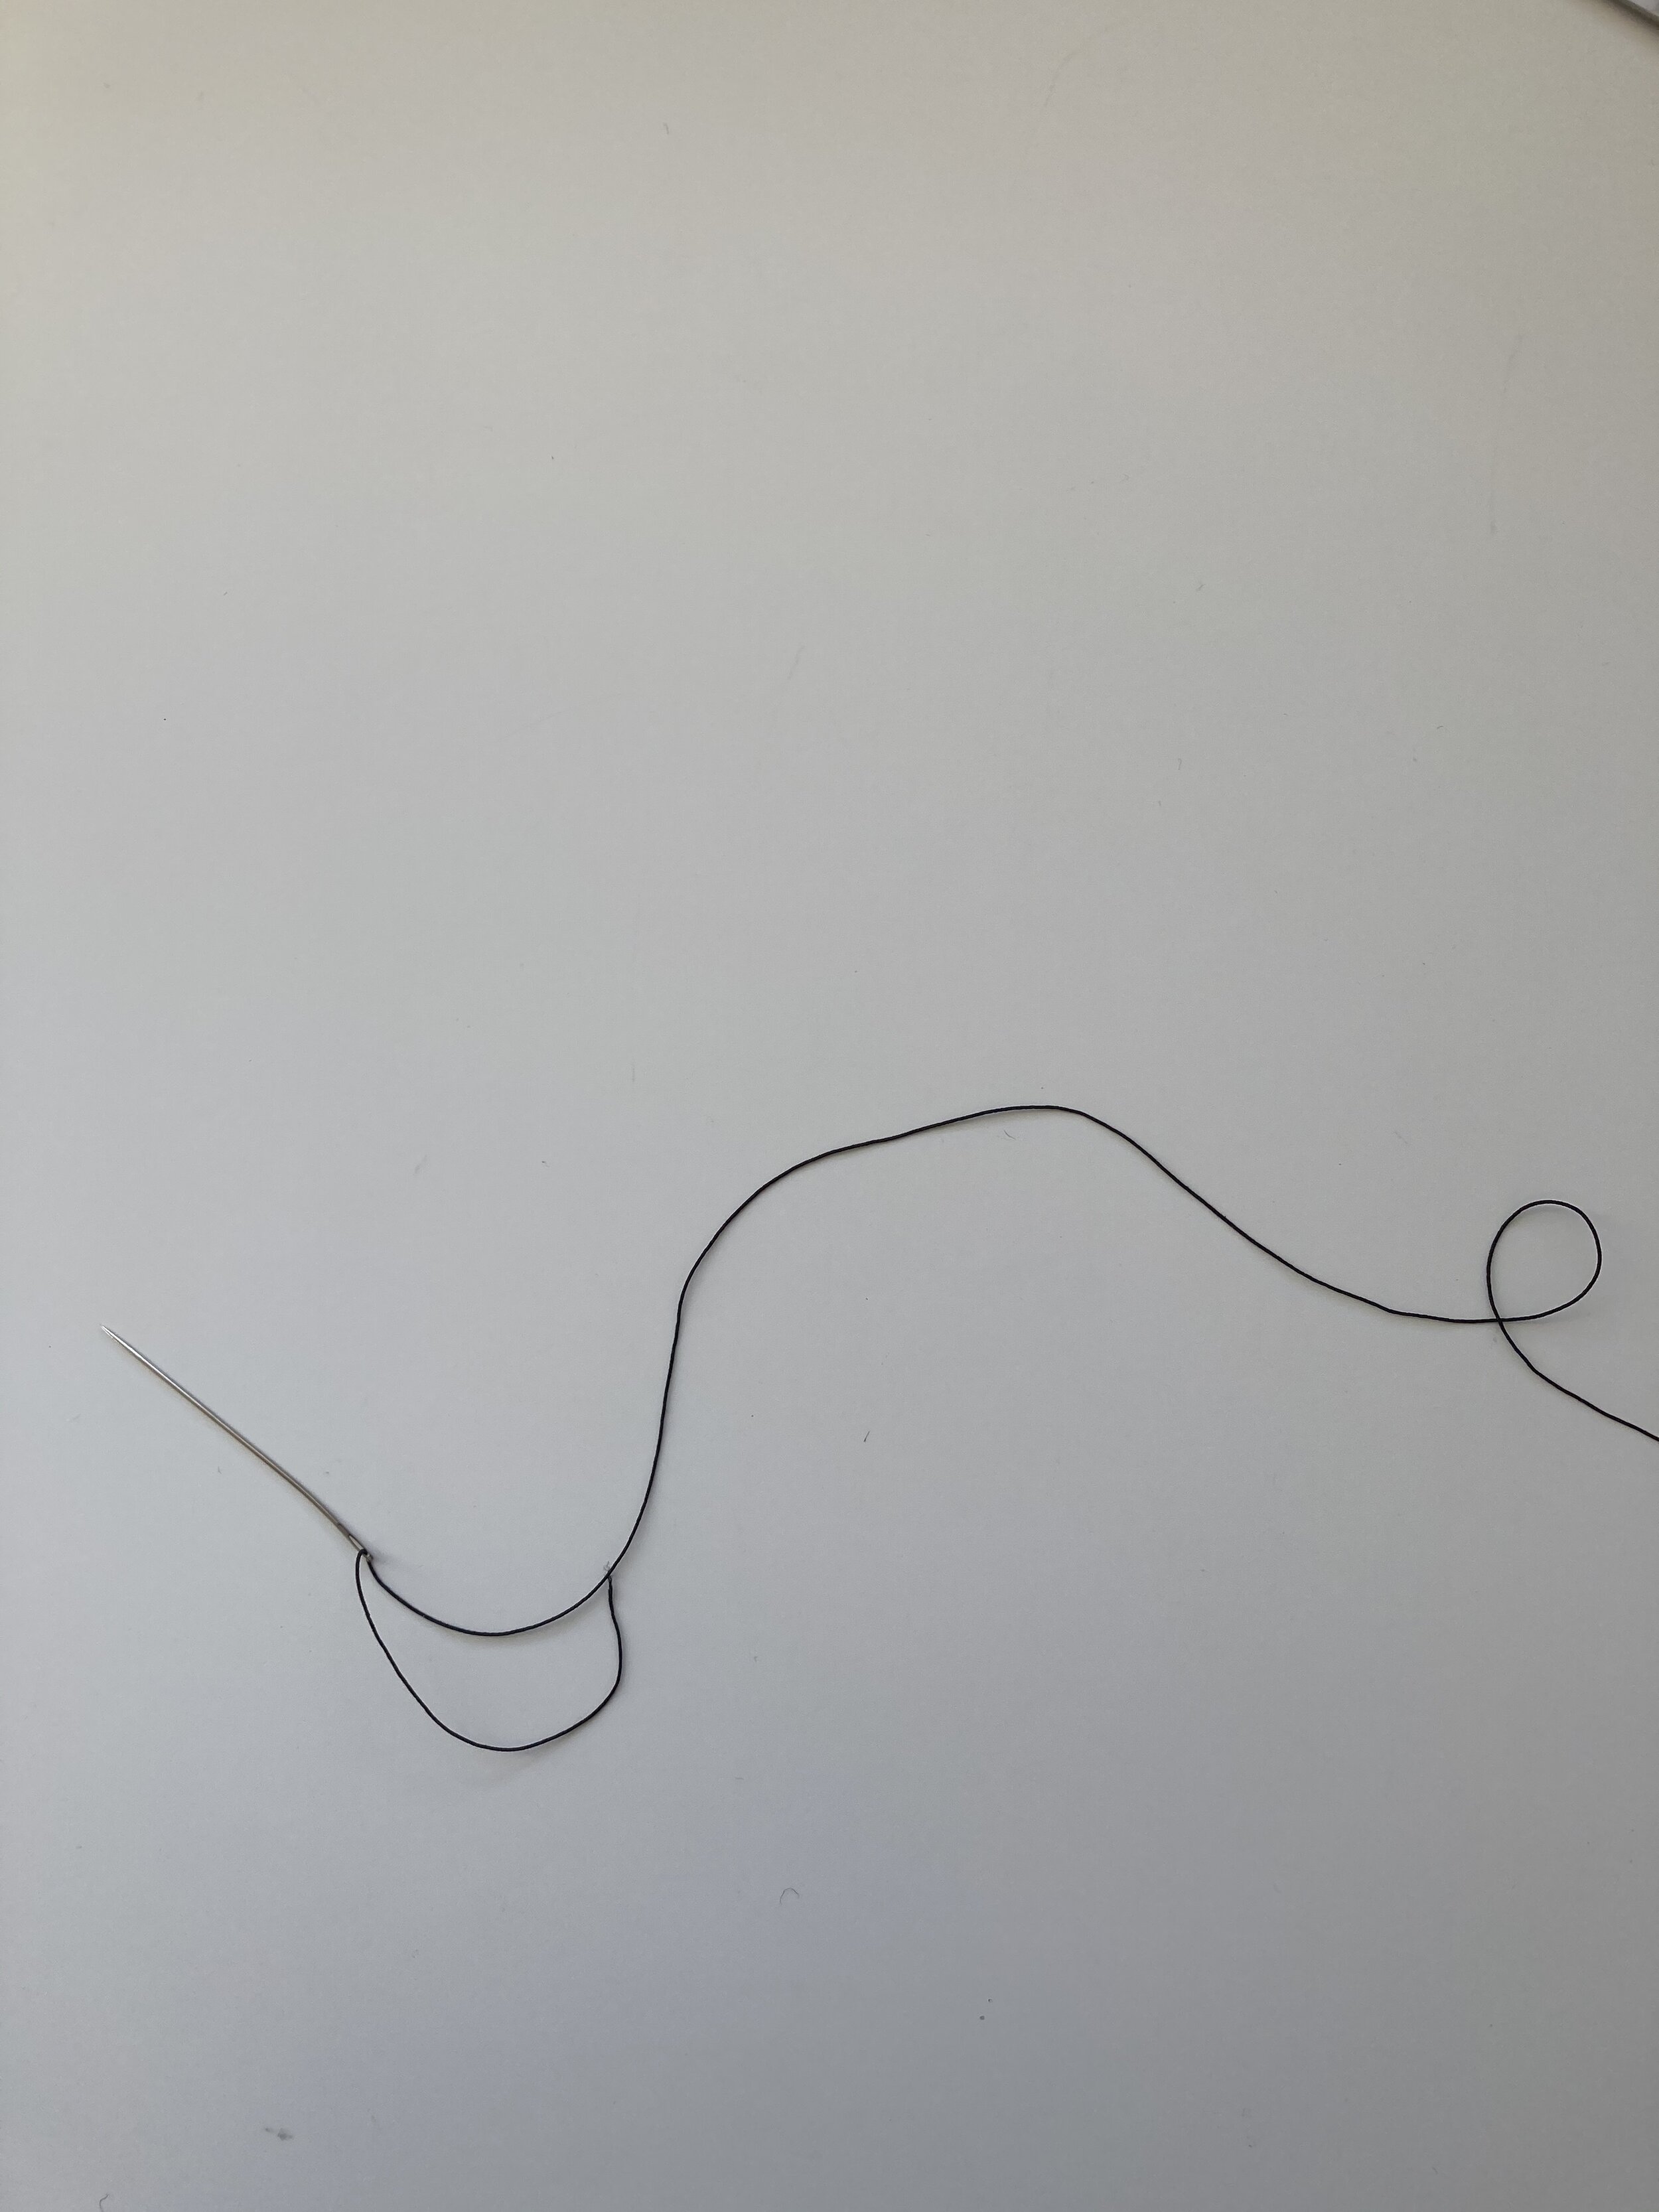
Thread your needle
Your first step is gonna be cutting a length of elastic thread that is long enough to wrap around your sweater’s neckline with a few inches extra just in case. After doing this, thread your needle.
Find an anchor point
Looking at the neckline, you’ll want to find a secure place at the base of your neckline where you can anchor your stitches, preferably something like a seamline. Once you’ve found your spot, stitch through it leaving a tail of thread about two to three inches long.
Sew through the rib stitches in the knit
Looking at the neckline, you’ll notice vertical lines of ribbing that look like inverted braids. This is where you’ll be stitching. On your needle, pick up a single yarn thread from the rib, and repeat this on all the ribs until you’ve made it around the sweater and back to the anchor point. Periodically turn your work around to make sure the threads are not visible on the outside of the garment.
Adjust the tension and knot the ends
When you’ve reached the end, try on the garment and adjust the tension to your liking by tightening or loosening the elastic thread. Once you’ve found your desired fit, tie the threads in a secure knot and leave the excess to be woven into the garment later.
Repeat this process
Once the first row is done, repeat at least twice more to cover the width of your neckline.
Weave in the elastic thread tails and cut the excess
With all of your rows complete, thread your needle with the excess threads and weave them into the sweater. Finally, cut the excess and voila! Your sweater should now fit perfectly.
I hope you found this tutorial helpful! I definitely plan on making quick fix posts like this one a series on the blog in the future. Since the new term starts this week it may be a little while before I can find time to upload again, but until then, I wish you all the very best.
Sincerely,
Selam <3


